Custom built USB Sensor Bar
22 Mar 2008I had a few days off work to recharge the batteries and was looking forward to heading to the beach, but ended up taking a rain check due to the bad weather. Sydney just had the wettest Summer in years, which was good in a way as it ended up breaking the drought and putting water in the dams. So to make the most of my time off I decided to build my own USB Sensor Bar so that I could get a Wiimote working with my laptop.
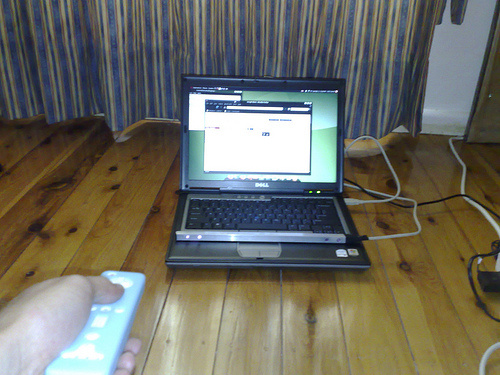
If you followed my previous post on getting the Wiimote to work with Ubuntu, then you should be able to move the cursor around using your Wiimote, and using the A and B buttons as left and right clicks respectively. However, using the accelerometer alone for moving the cursor around does not make for a great user experience. To enable the Wiimote to work more effectively you need to setup a point of reference that can be used by the Wiimote driver to calculate the directional movement of the Wiimote accelerometers. This point of reference for the Wii is the Sensor Bar that sites on top of the television set. So you can either buy a battery powered Sensor Bar or make your own USB Sensor Bar. I ended up doing the latter by following the instructions at Terbidium.
To get started you need a USB cable, four infrared LEDs, LED holders, aluminium tubing, electrical tape or heat shrink tubing, and a laptop.
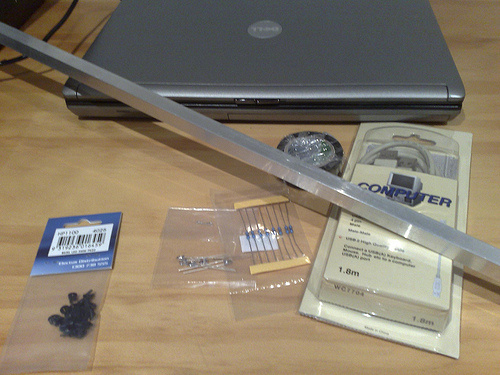
The USB Sensor Bar is a simple serial circuit that consists of four infrared LEDs that are grafted to an old USB cable.
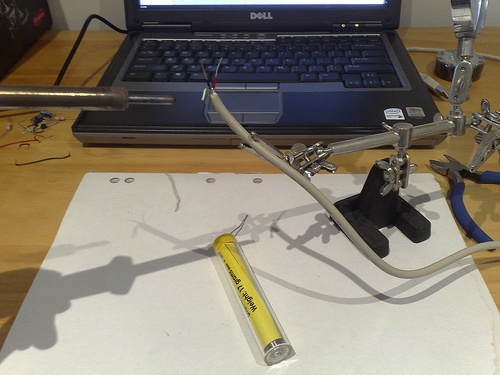
You may need to add a resistor into the circuit if your LEDs don’t produce a voltage drop of 5 Volts, which is the standard power source for USB devices. It is worth testing your circuit design on a circuit board as shown below.
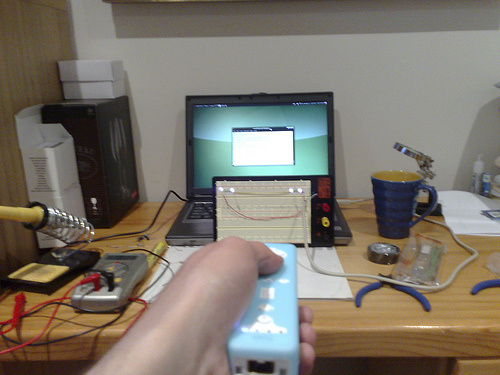
The circuit is then squeezed into a tight-fitting aluminium tubing that is cut to about 30cm in length. The USB cable hangs out one end of the tubing, and the LEDs sit in LED holders that have been positioned into some neatly drilled holes. The completed USB Sensor Bar is pictured below.